Configure Craft Commerce
Craft Commerce does not need much configuration at this stage of the project.
All your project needs is:
- a product type, so new products can be added
- the Stripe payment gateway, so customers can checkout
Other features of Commerce like shipping, taxes, etc. can all be configured later, depending on how you want to run your marketplace.
Create a product type
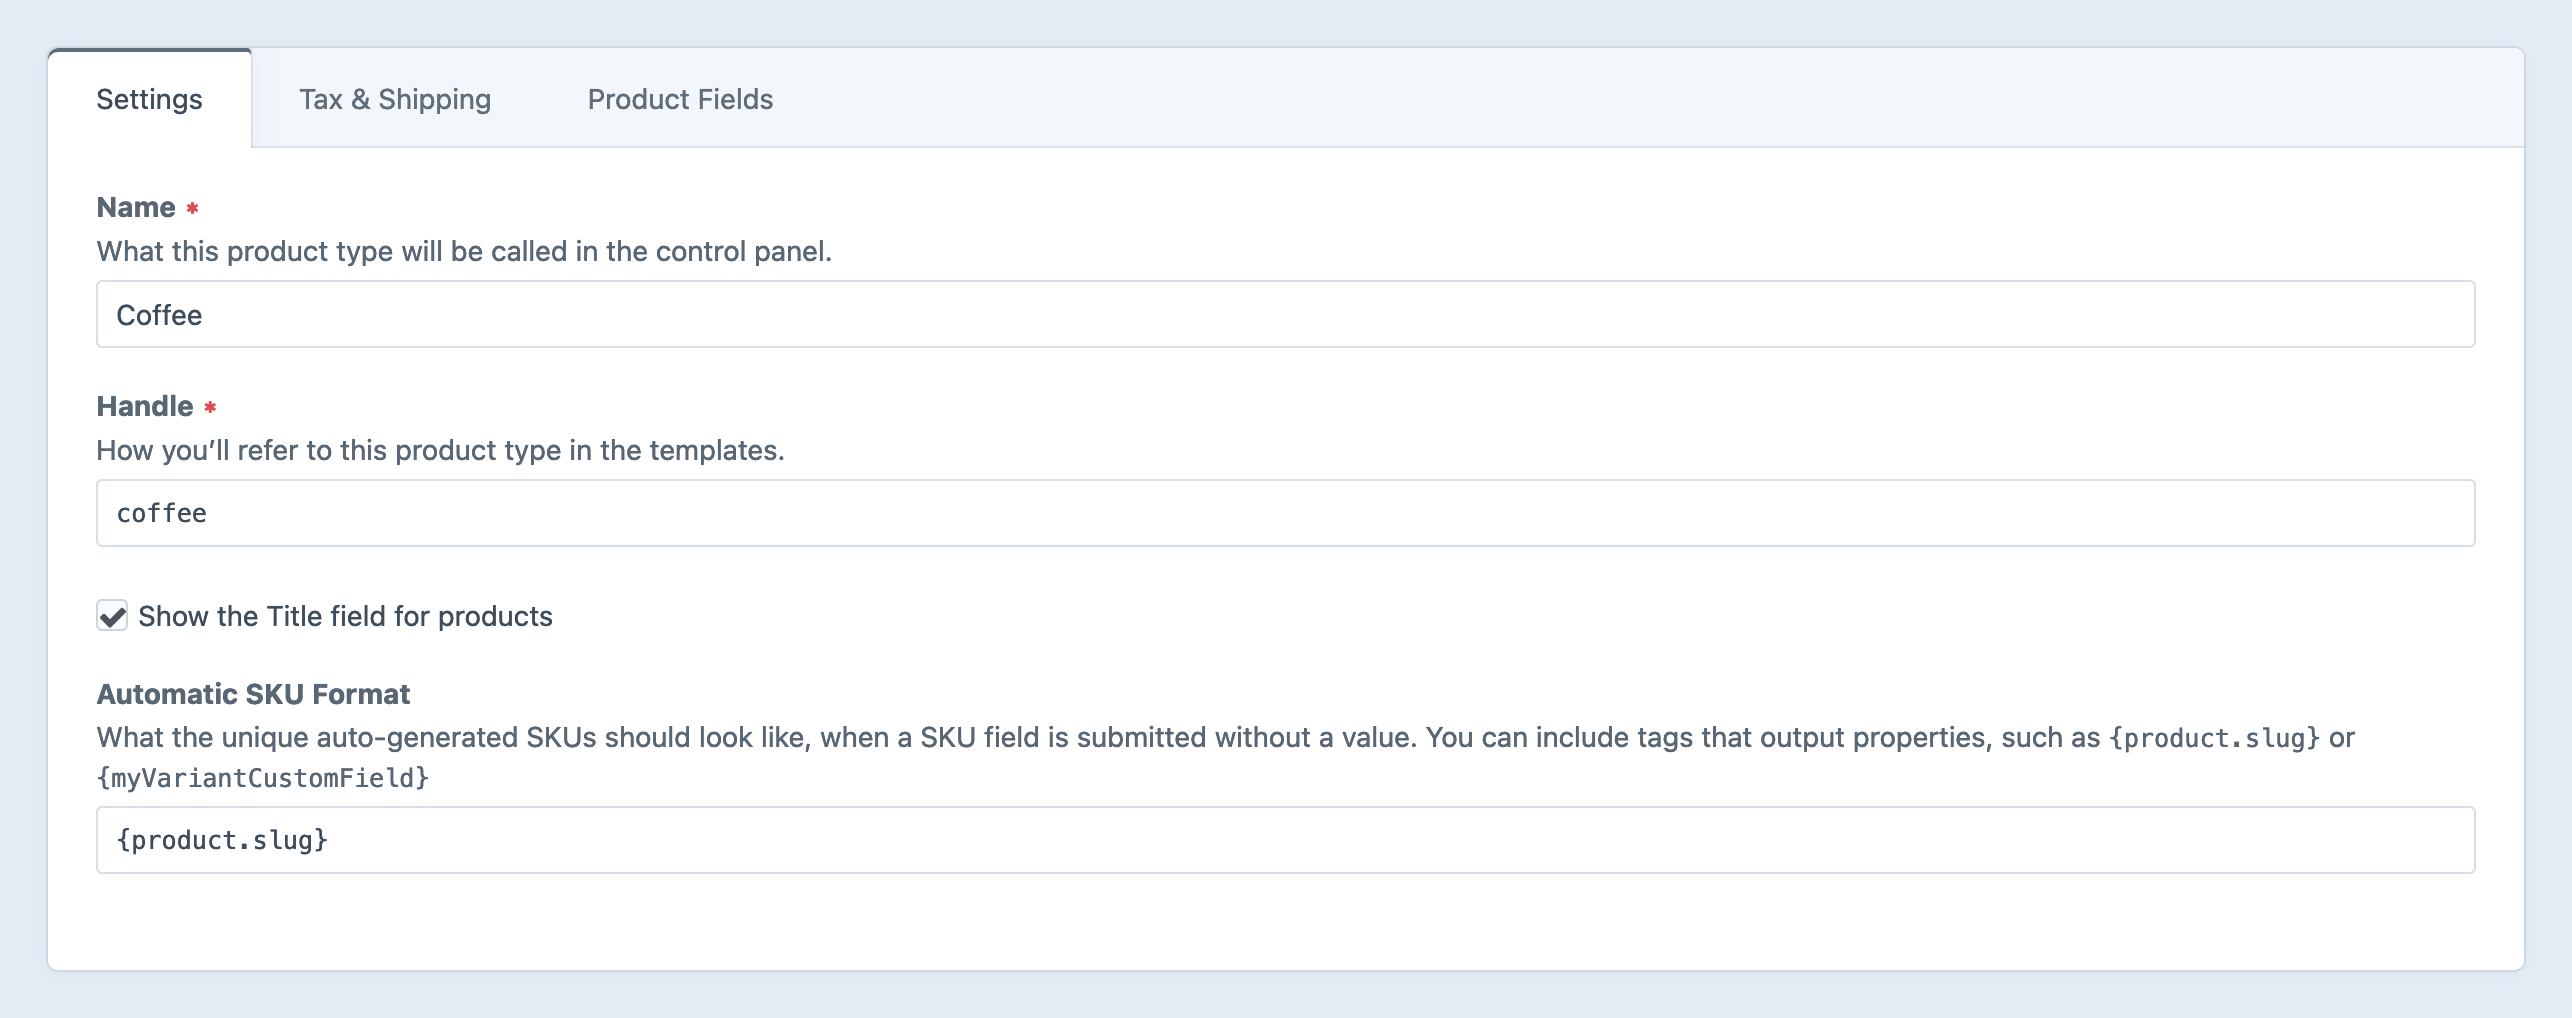
Make a new “Coffee” product type under Commerce → System Settings → Product Types.

For now, you can set the Automatic SKU Format to:
{product.slug}
…or leave it blank. We’ll customize it later in the tutorial.
Create a product
Now, it’s possible to add new products under Commerce → Products.
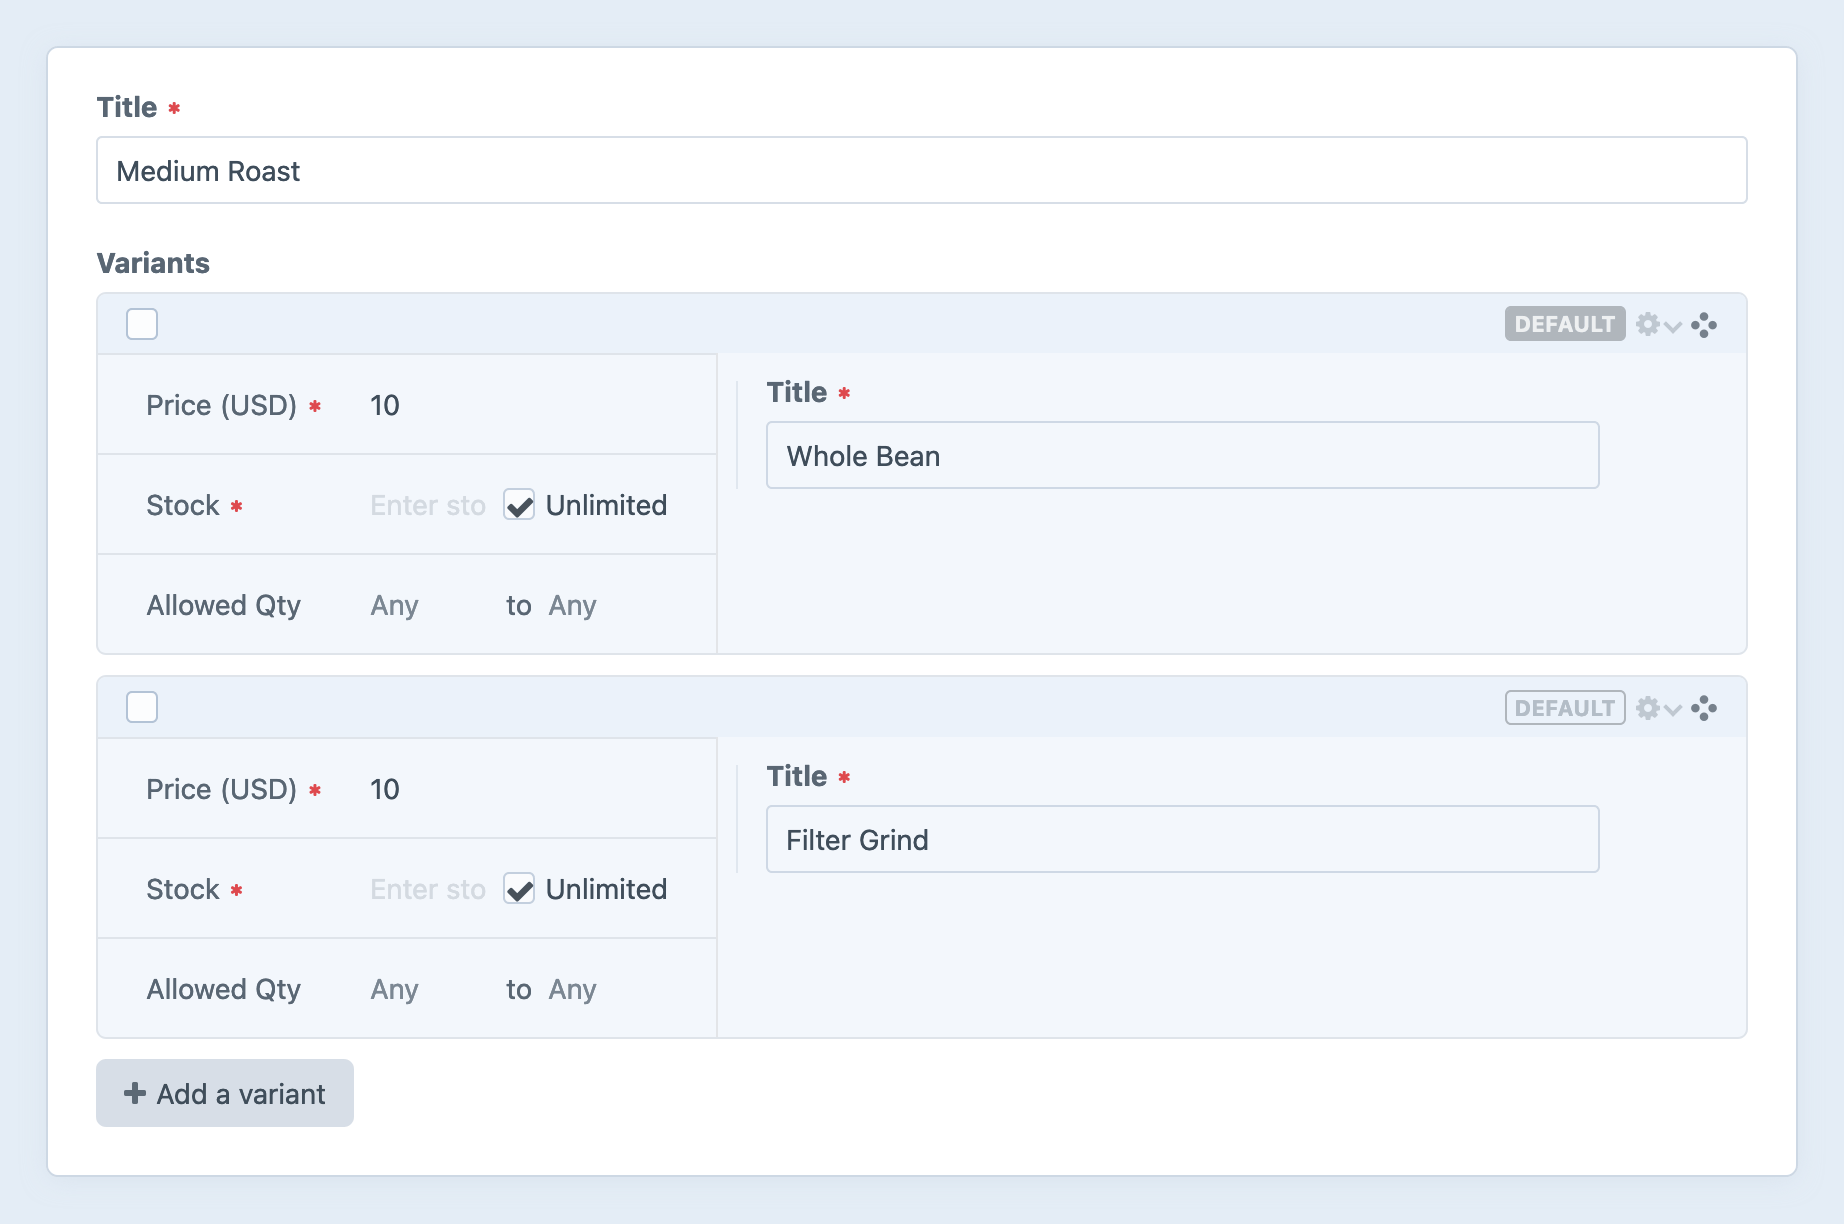
Let’s add medium roast coffee available for purchase:

I’ve created two variants: a whole bean option, for people who want to grind the coffee themselves, and a pre-ground option.
Create one or two more coffee products—just enough to give us something to work with for now.
Create a payment gateway
Now, you’re ready to add the Stripe payment gateway, so customers will actually be able to checkout and pay.
As described in the Stripe for Craft Commerce gateway README:
…open the Craft control panel, navigate to Commerce → System Settings → Gateways, and click + New gateway.
Your gateway’s Name should make sense to administrators and customers (especially if you’re using the example templates).
Secrets
From the Gateway dropdown, select Stripe, then provide the following information:
- Publishable API Key
- Secret API Key
- Webhook Signing Secret (See Webhooks for details)
Your Publishable API Key and Secret API Key can be found in (or generated from) your Stripe dashboard, within the Developers → API Keys tab. Read more about Stripe API keys.
noteTo prevent secrets leaking into project config, put them in your
.envfile, then use the special environment variable syntax in the gateway settings.Stripe provides different keys for testing—use those until you are ready to launch, then replace the testing keys in the live server’s
.envfile.
Use the example templates
Craft Commerce comes with full-featured example templates. We’re going to use these for the user-facing portion of our Marketplace in this tutorial. Copy the templates into your project with the following console command:
commerce/example-templates --folder-name shop
You should now have the templates in the templates/shop.
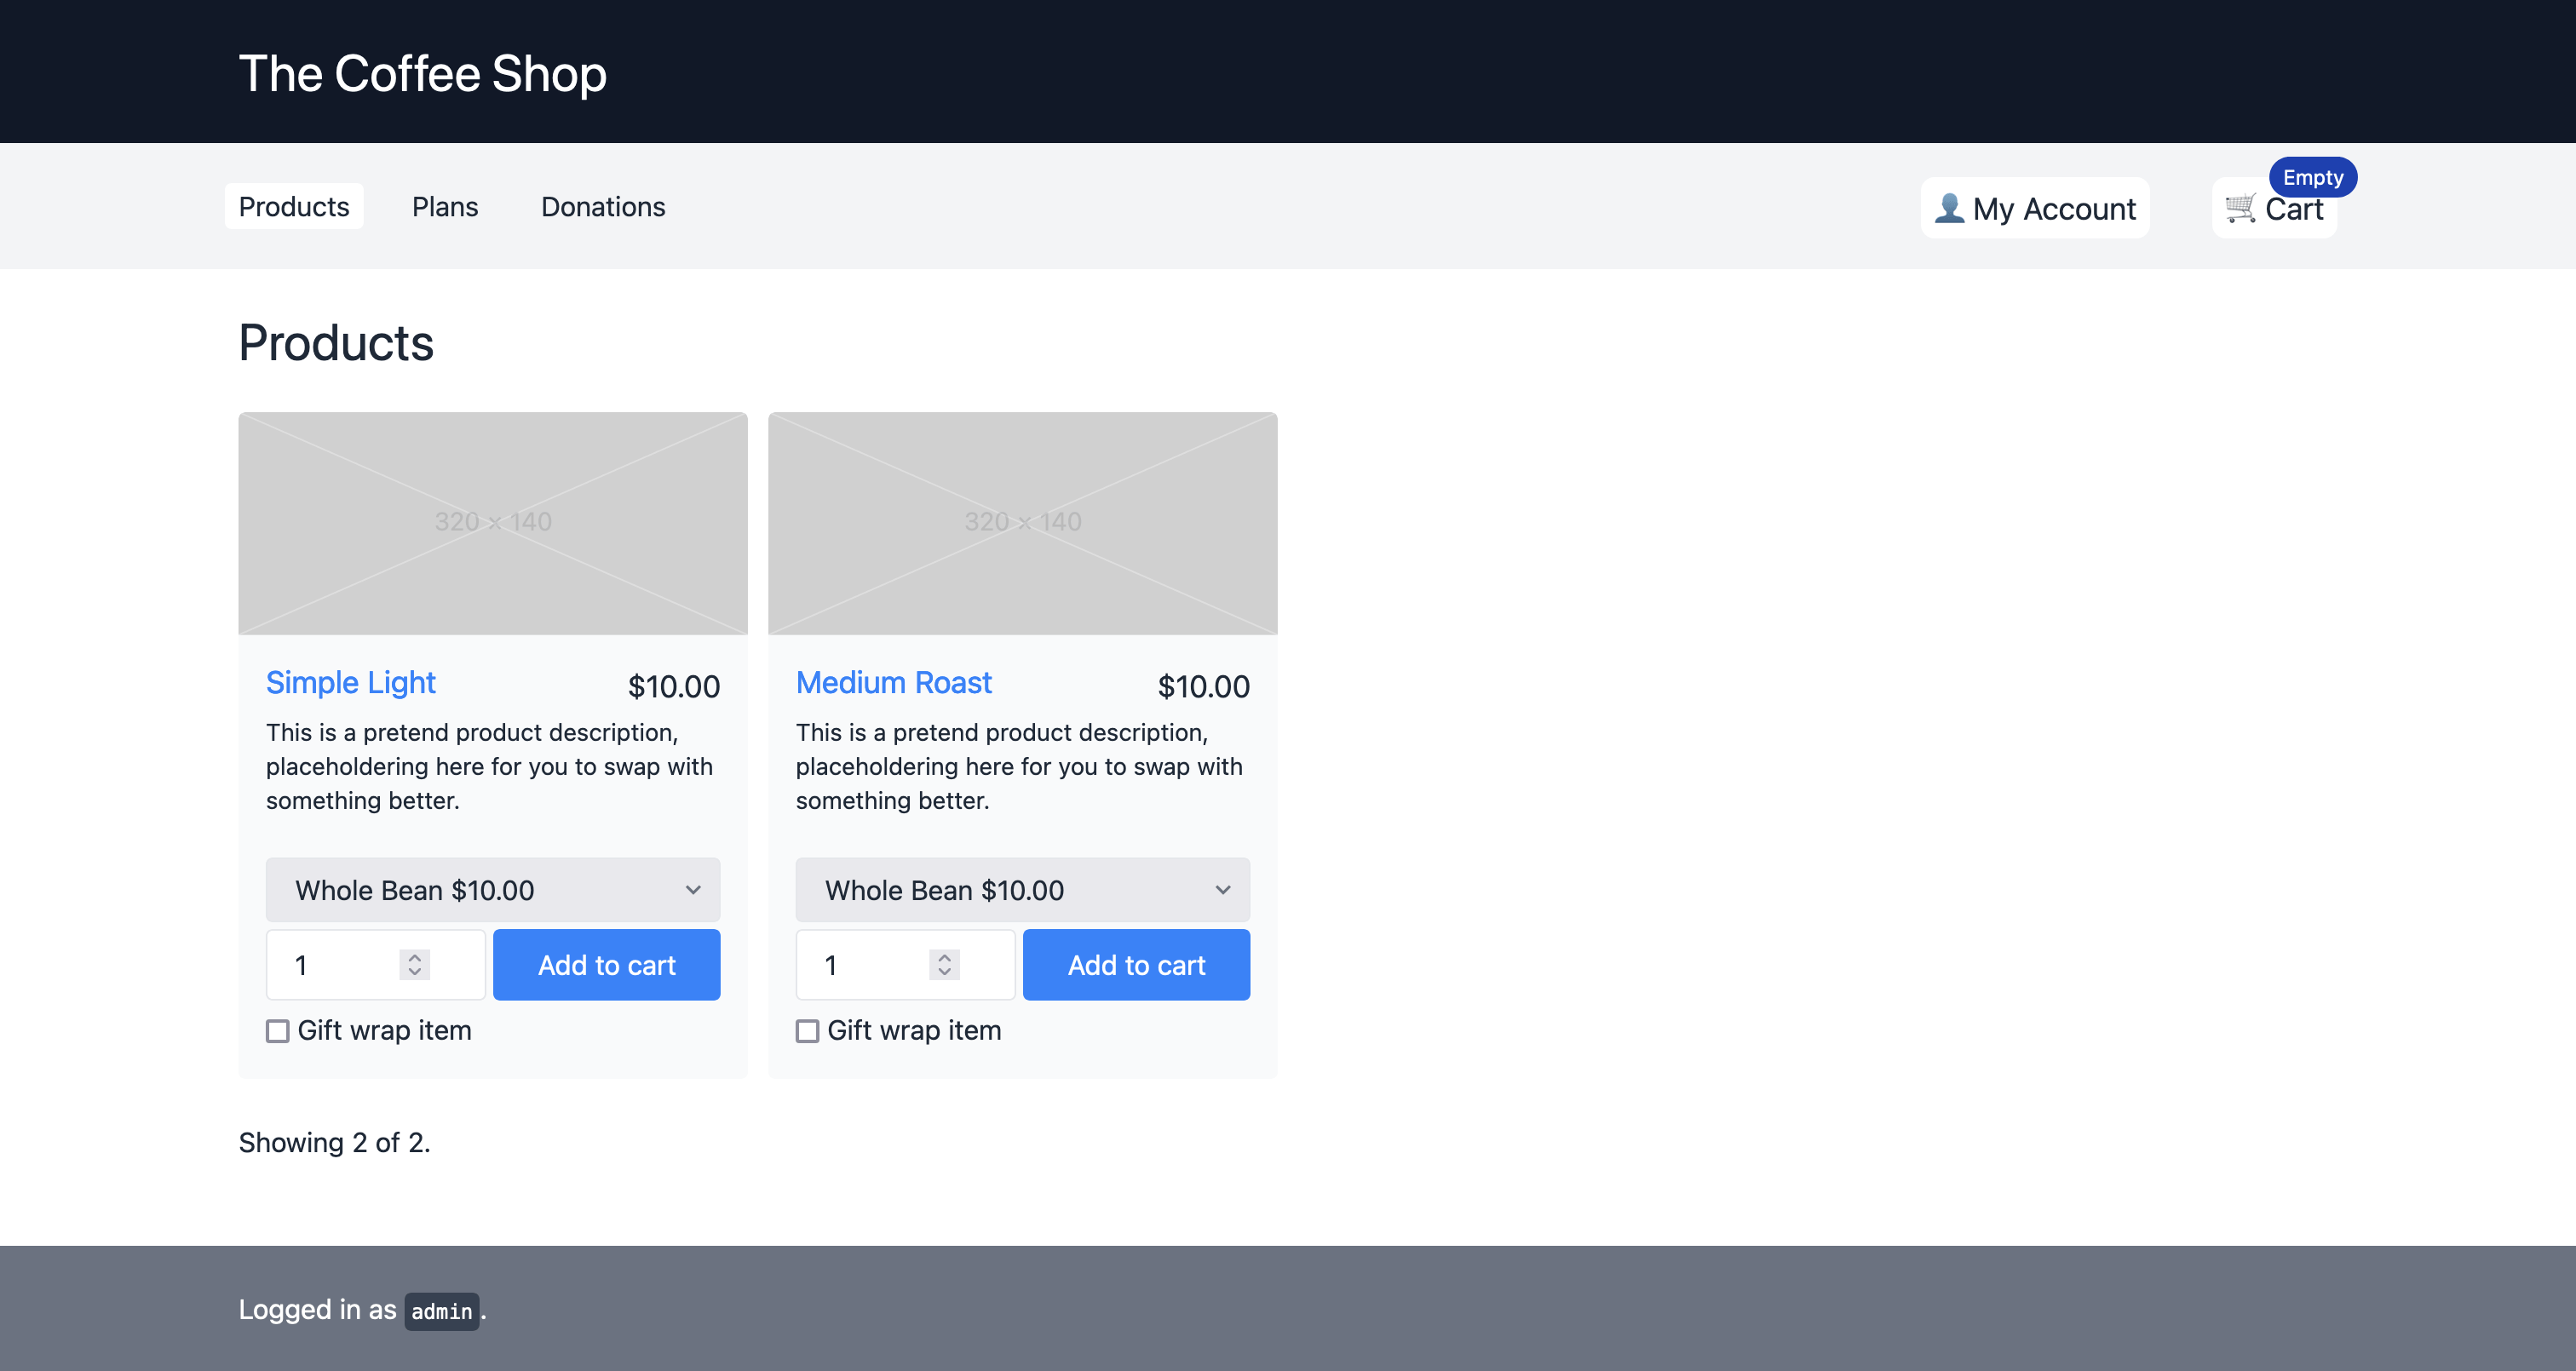
Now you can visit the front-end of the site, and see a typical Craft Commerce install is ready at /shop:
# Open /shop in your default browser
ddev launch shop
You should see something like this in the browser:

Run through a test order, and make sure you can see that the payment has gone through within Stripe. If you can see it, then your Commerce site is setup correctly, and you’re ready to move onto the next step.