Onboard vendors
You now have content filled in for a few roasters, and the roasters have a user on the team, and a coffee available for sale.
Now, we’ll start making use of the Marketplace plugin to bring this all together into something functional.
Navigate to Settings → Plugins → Marketplace, add in your secret key from Stripe.
Here, you can also set a global fee for your platform. In this example, we’re going to keep a 10% fee for all sales on the platform, so fill in 0.10:

Instead of using a global fee, you can entirely customize this fee based on the product, vendor, price, etc. using events. This global setting is here for the most basic use case, where you have a single percentage fee for the entire platform, with no exceptions. That’s what we’re going to use it for in our example coffee marketplace.
Create a custom dashboard area
Now, you’re ready to onboard your first roaster to your marketplace.
We need an area where roaster employees can login to the platform, and have a simplified interface to only manage the things we want them to manage—namely, their roaster details (ex. description, logo), the basic details of their products, and access their Stripe dashboard.
They don’t need full access to the Craft control panel to do this—and you probably wouldn’t want them to have it regardless.
To facilitate this, we are effectively implementing a version of the official Front-End User Accounts guide.
However, this area will only be for roasters. We already have a default account area (via the Commerce example templates) where customers can edit their profile, see their past orders, etc. Now, we need an account area for roasters that are selling the coffee.
We’ll call this area the Roaster Admin. Create a very basic new layout for it in templates/roaster-admin/_layout.twig:
<!DOCTYPE html>
<html lang="en">
<head>
  <meta charset="UTF-8">
  <meta name="viewport" content="width=device-width, initial-scale=1.0">
  <title>{{ title ?? 'Roaster Admin' }}</title>

  {#
    Pico CSS is not required, but gives us some basic
    styling without markup changes for our demo.
  #}
  <link href="https://cdn.jsdelivr.net/npm/@picocss/pico@2.0.6/css/pico.classless.blue.min.css " rel="stylesheet">
</head>
<body>
  <main>
    {% block main %}
    {% endblock %}
  </main>
</body>
</html>
Create a new template in templates/roaster-admin/login.twig:
{% extends 'roaster-admin/_layout' %}

{% block main %}

  <h1>Login</h1>

  <form method="post" accept-charset="UTF-8">
    {{ csrfInput() }}
    {{ actionInput('users/login') }}

    {# Redirect users to the vendor admin area #}
    {{ redirectInput( '/roaster-admin' ) }}

    <label>
      <div>Email</div>
      {{ input('email', 'loginName', '') }}
    </label>

    <label>
      <div>Password</div>
      {{ input('password', 'password', '') }}
    </label>

    <button>Login</button>

    {% if errorMessage is defined %}
      <p>{{ errorMessage }}</p>
    {% endif %}
  </form>

{% endblock %}
You can also create templates/roaster-admin/index.twig, to give them something to see once they login:
{% extends 'roaster-admin/_layout' %}

{% block main %}

  {# Query the product type by its handle #}
  {% set coffeeProductType = craft.commerce.productTypes.getProductTypeByHandle('coffee') %}

  {# Require the user to login #}
  {% requireLogin %}

  {# Require permission to create coffee products (sufficient for our purposes for now) #}
  {% requirePermission "commerce-createproducts:#{coffeeProductType.uid}" %}

  {# Query the roaster the user is part of #}
  {% set roaster = currentUser.roaster.one() %}

  <h1>Hello {{ currentUser.fullName ?? 'there' }}!</h1>

  {% if not roaster %}

    <p>Please ask the marketplace owner to associate your account with a roaster.</p>

  {% else %}

    <p>Welcome to the {{ roaster.title ?? 'roaster' }} dashboard.</p>

    {# Render a button to connect the roaster to Stripe Connect, via Marketplace #}
    {{ craft.marketplace.renderConnector(roaster) }}

  {% endif %}

{% endblock %}
This is described in more detail in Craft’s User Management documentation. For our purposes, it’s sufficient for creating a login form that will work for our roaster employee users, but is not for customers.
Impersonate a user
Now, we need to add some new users (besides us) that can actually go and use the roaster admin.
For the sake of our example, let’s say we are early on in our marketplace’s life, and we are going to manually create and approve every roaster and every user within it—we aren’t offering public registration yet.
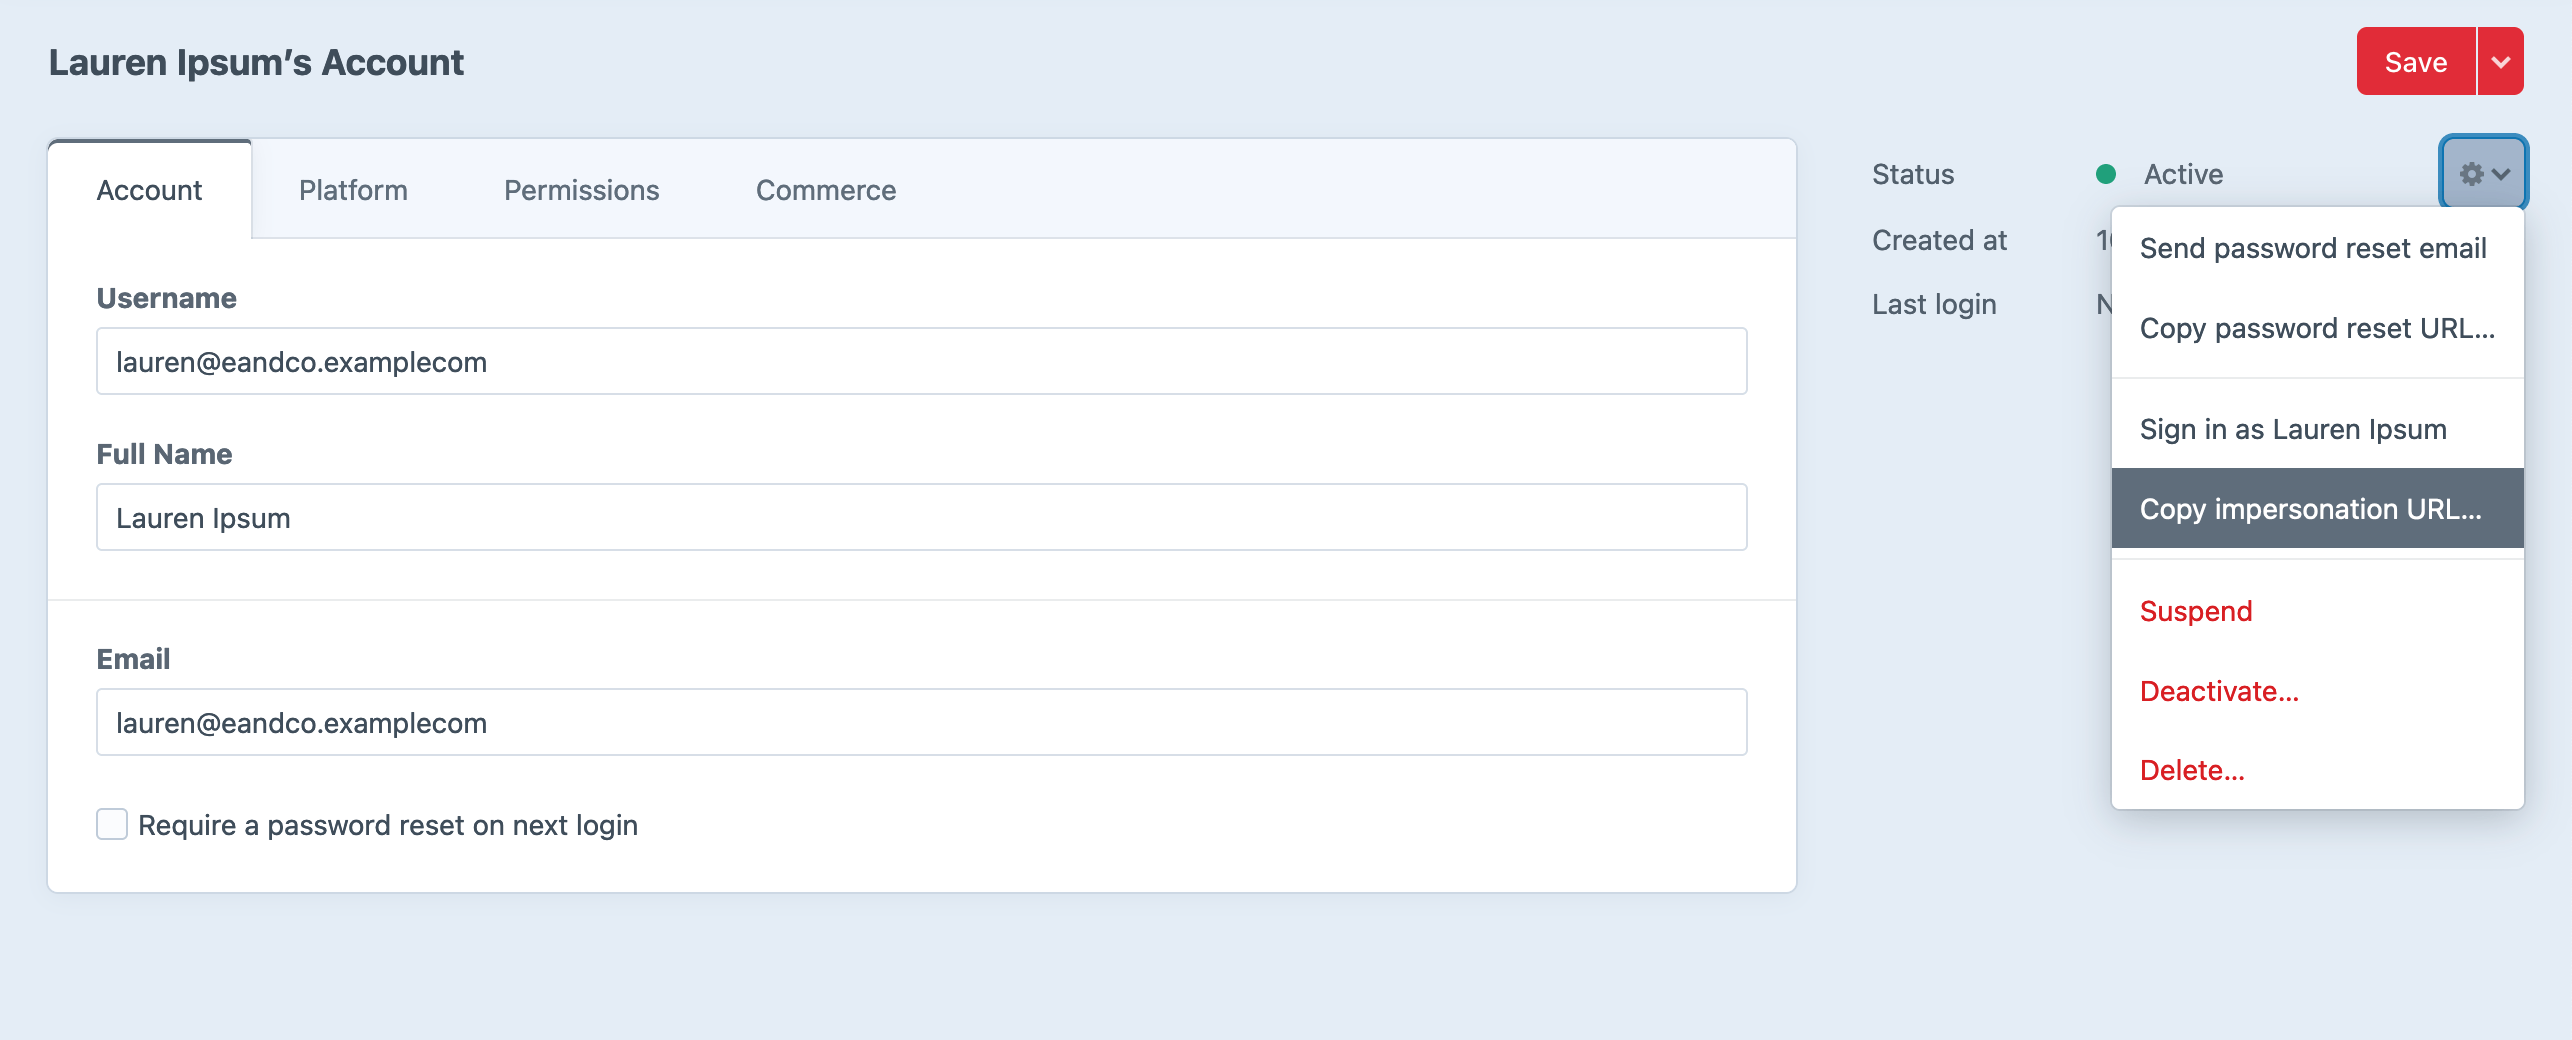
Go to one of the new, fake users you created, and impersonate their account:

Connect to Stripe

In this template, we also query the roaster related to the user. With that, we can render a connection button so you can connect the Roaster to Stripe.
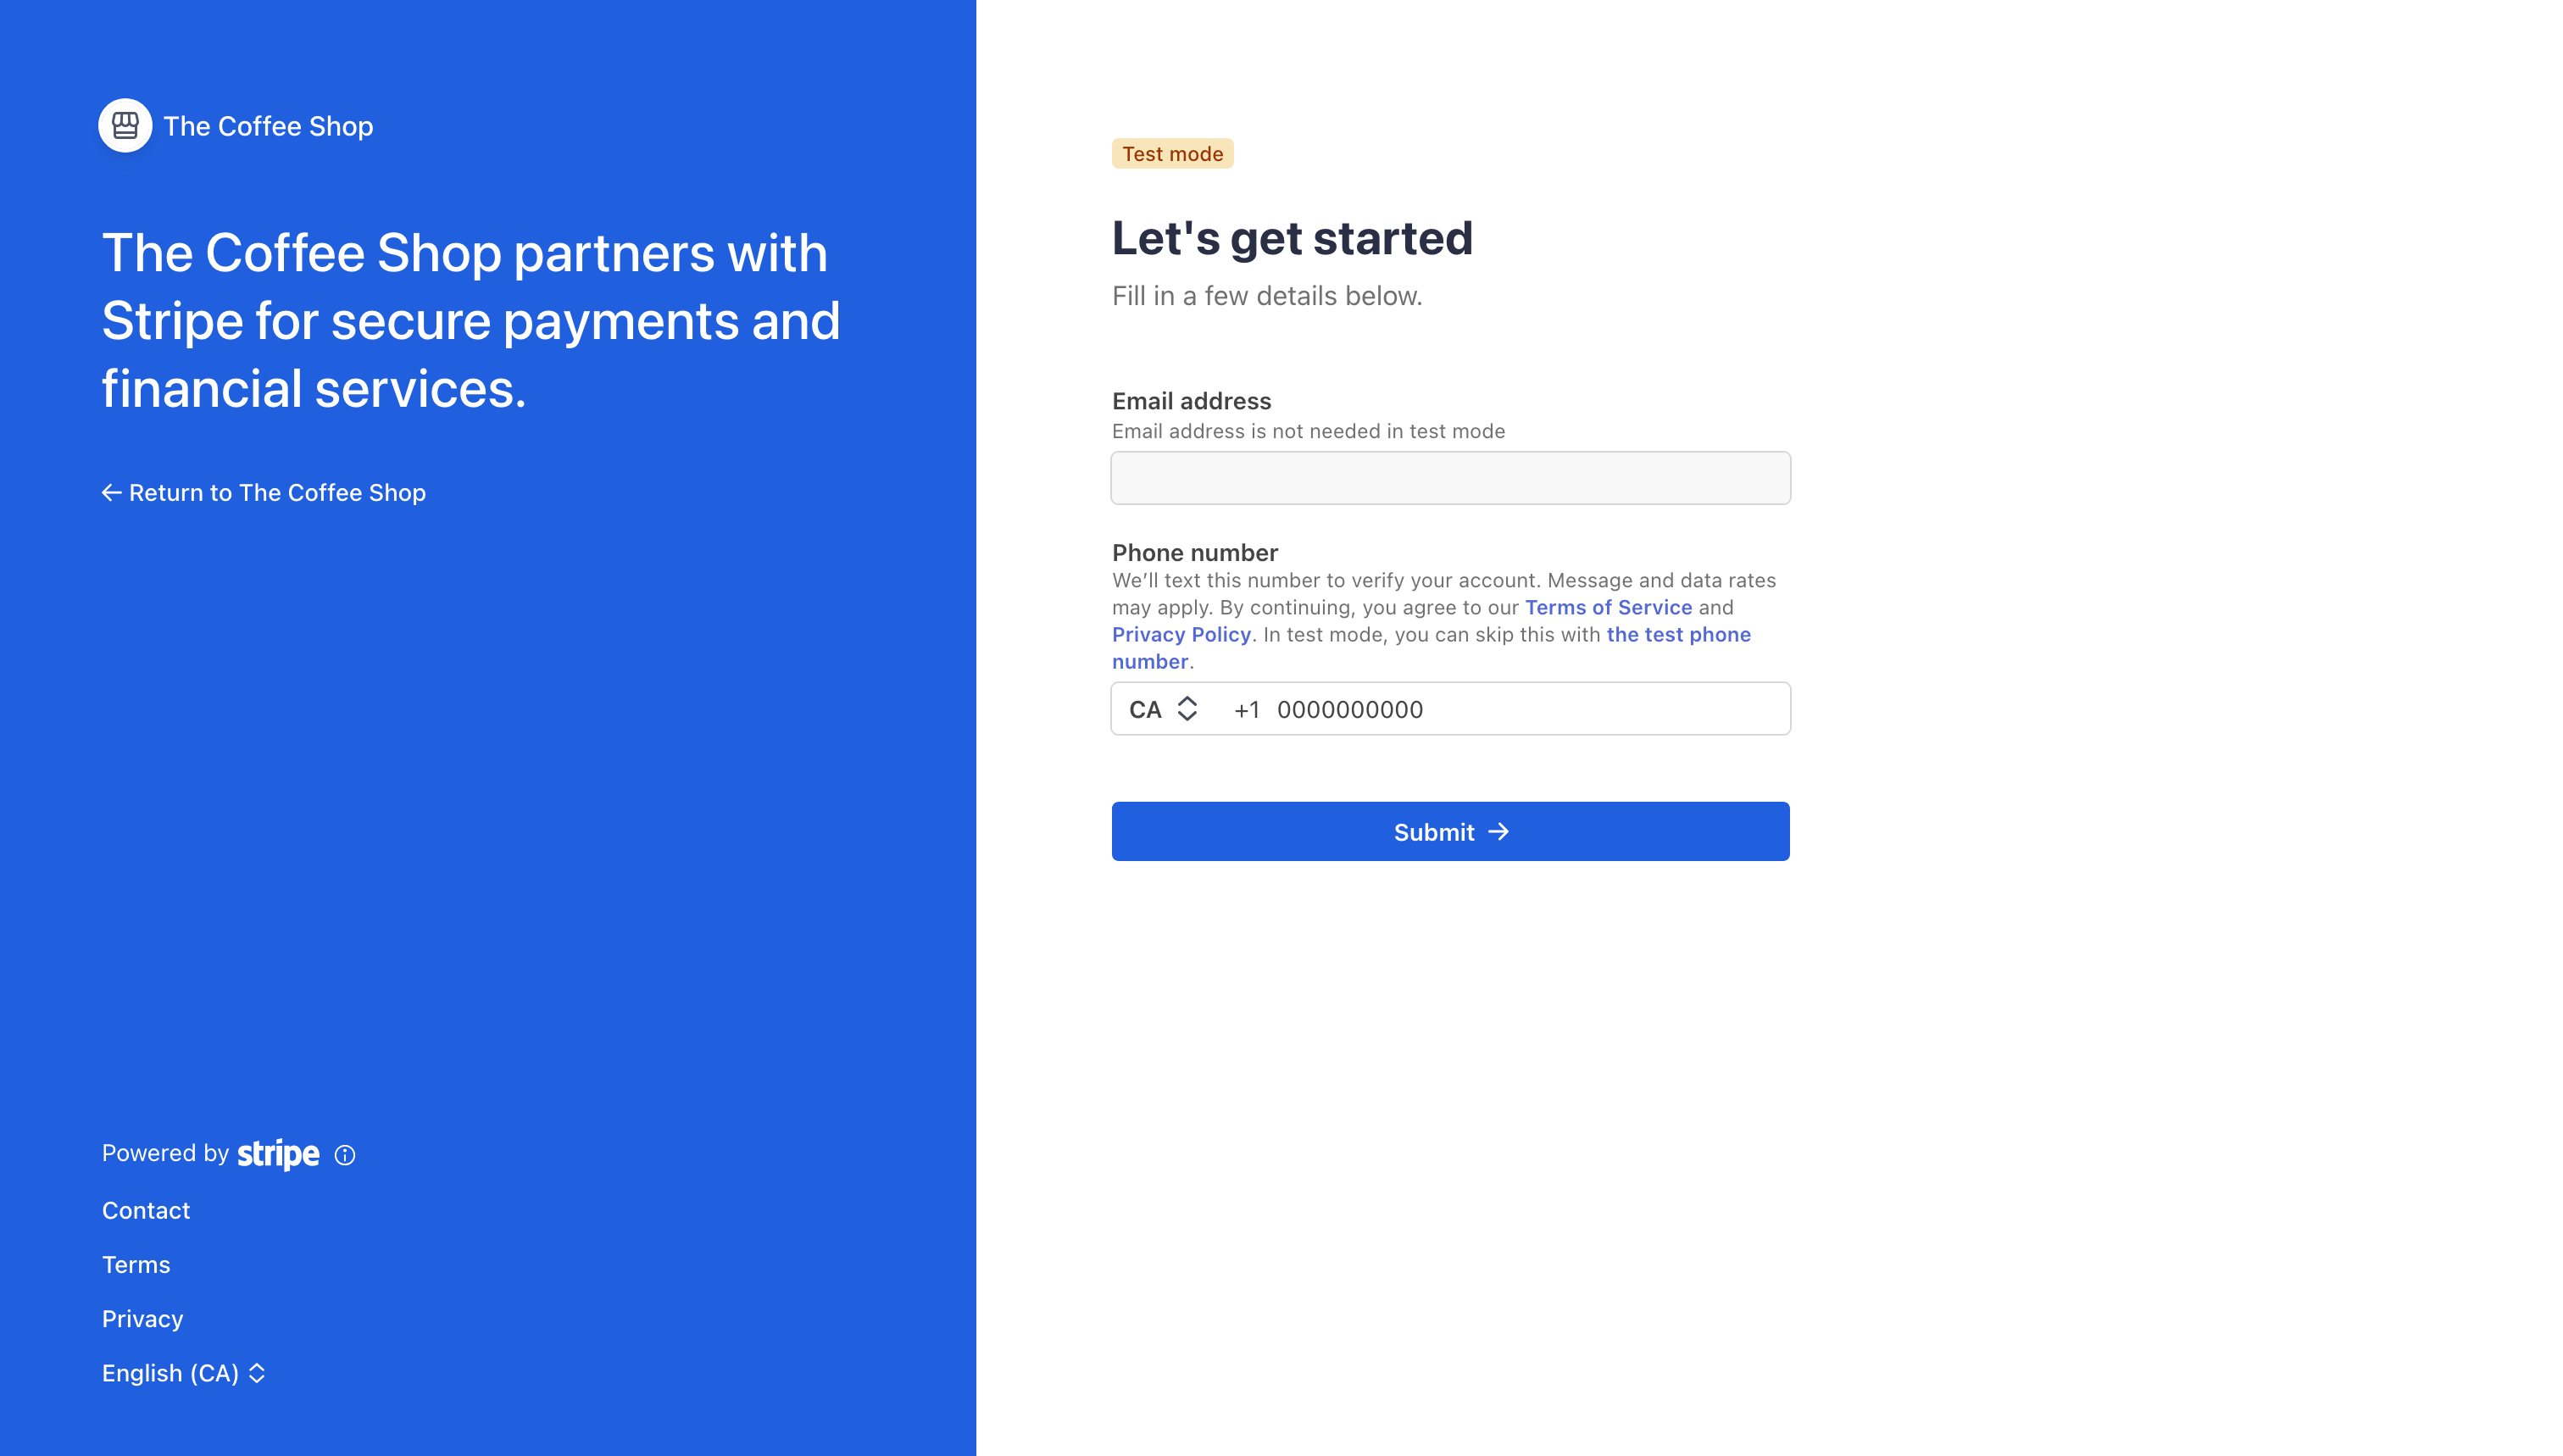
Clicking it will initiate the Stripe-hosted onboarding flow:

Run through this, accepting Stripe’s prompts for pre-filling fake information in test mode. Once you’re done, you’ll be sent back to your platform.